

What Happens on Gutter Installation Day in Atlanta, GA?
In our experience providing rain gutter installation services in Atlanta, we have found that most people have limited knowledge of the exact processes involved. After all, people often call us at their most convenient hour and would usually check once the job’s finished.
This guide outlines a typical gutter installation day in Atlanta, from arrival and setup through removal and installation to final cleanup.
It’s meant to help homeowners feel prepared and understand what a professional process includes, especially when planning for new rain gutter service in Atlanta.
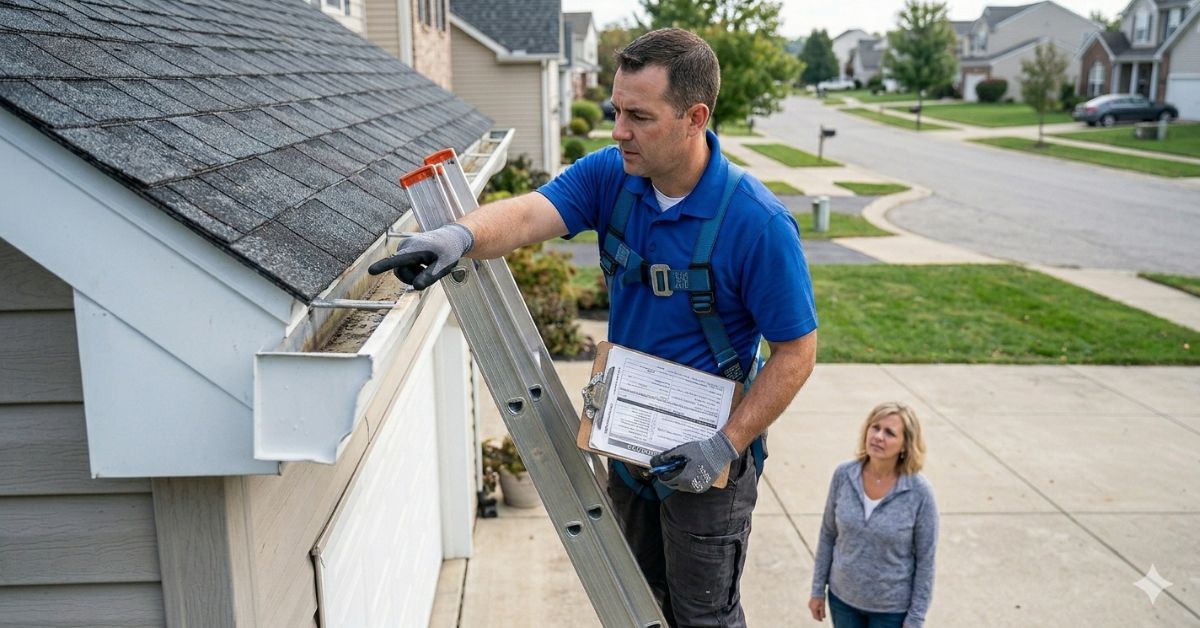
Step 1: Arrival, Walkthrough, And Confirming The Plan
On installation day, we arrive within the scheduled window and complete a brief walk-through with the homeowner. We confirm the scope of work, gutter style and color, and agreed-upon downspout locations.
We recheck key measurements and inspect for any overlooked issues, such as soft fascia or drainage concerns. Addressing these items before work begins keeps the installation on track and prevents delays.
Step 2: Preparing The Work Area And Protecting The Property
Before the removal or installation of gutters, we prepare the work area around the home. This typically involves setup ladders, positioning equipment, and taking landscaping, siding, and nearby walkway protection. It is particularly important to take precautions on tight properties or homes with exterior features that can easily be damaged.
Understanding what happens on installation day also helps homeowners see why earlier inspections matter. Many of the steps taken during installation are based on details identified beforehand, such as those covered in pre-installation inspections by professional gutter contractors, which help the system perform as intended.
Step 3: Removing Old Gutters And Inspecting Attachment Areas
If the project involves replacing an existing gutter system, we begin by removing the old gutters carefully. We detach them without damaging the roof edge, fascia, or siding.
Once removed, we inspect the attachment points for hidden damage or weakened wood. Checking these areas before installing the new system allows us to correct any issues early and helps prevent future sagging, leaks, or separation.
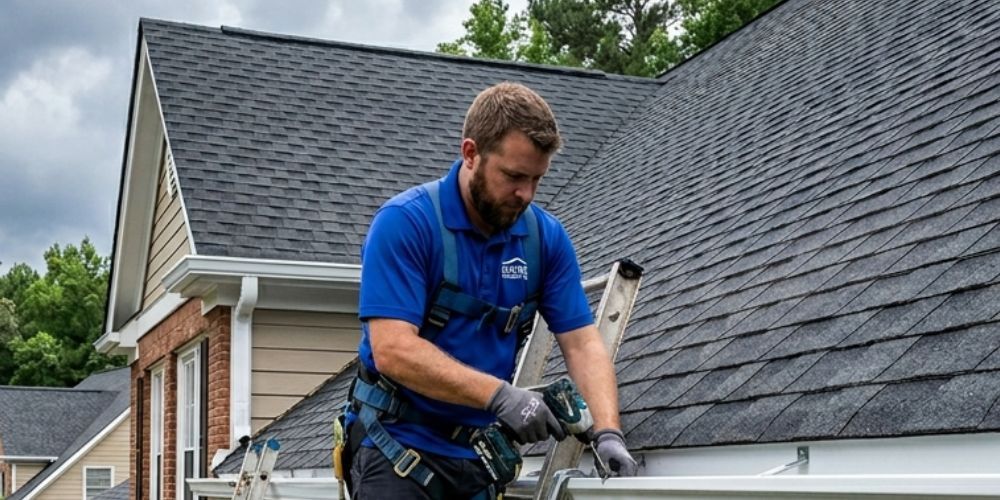
Step 4: Installing New Gutters And Setting Proper Slope
After preparing the attachment points, we install the new gutter runs. Each section is set with the correct slope so water flows steadily toward the downspouts. Even small alignment errors can cause standing water or overflow during heavy rain.
We secure the gutters with properly spaced hangers to keep them stable during storms. Setting the slope and supports correctly from the start helps the system drain properly and limits future adjustments.
Step 5: Installing Downspouts And Drainage Extensions
After the gutters are secured, we install the downspouts and connect them to each run. Placement follows the drainage plan, directing water away from the home. When needed, we add extensions to carry runoff farther from the foundation or walkways.
Downspouts play a key role in system performance. Even properly installed gutters can overflow or back up if downspouts are too small, poorly placed, or not firmly connected to the drainage path.
Step 6: Final Inspection And Water Flow Testing
After installation, we inspect the entire gutter system. We check hanger spacing, seam connections, downspout alignment, and water flow to confirm runoff moves through the gutters and exits properly at the discharge point.
We also test the system to catch small issues before finishing the job, such as adjusting slope or tightening a connection. This final check confirms everything is working correctly before we pack up.
Step 7: Cleanup, Walkthrough, And Next Steps
After system testing is complete, we perform a full site cleanup. All removed gutters, fasteners, debris, and installation materials are cleared from the property. We also check that the newly installed gutters and downspouts are free of debris and ready to handle the next rainfall.
Homeowners are then able to review the finished gutter installation and observe how water is directed away from the foundation and surrounding areas.
Before leaving, we discuss routine gutter maintenance, including keeping the system clear and monitoring drainage performance after heavy storms. Ongoing inspection helps protect the home and maintain long-term gutter performance.
How Installation Day Fits Into Long-term Rain Gutter Service In Atlanta
Gutter installation day is just one part of a larger process that supports long-term drainage performance. Proper planning, inspection, installation, and testing all contribute to a system's performance in handling Atlanta’s rainfall over time.
These steps are part of a complete rain gutter service in Atlanta, where quality installation reduces future repair and maintenance needs.
Understanding what happens on installation day helps homeowners see why earlier inspections matter. Many installation steps are based on details identified beforehand, such as those found during pre-installation inspections by professional gutter contractors, helping the system perform as intended.
You might also like
Gutters 4 Less Blog