

How to Fix a Leaking Roof from the Inside
A leaking roof can feel like a nightmare, especially during heavy rain or snow. While fixing the problem from the outside is ideal, there are times when an internal solution is the quickest way to prevent further damage.
This guide will walk you through identifying and fixing a leaking roof from the inside, along with tips to prevent future leaks and when to seek professional help.
How to Fix a Leaking Roof from the Inside
Identifying the Source of the Leak
Fixing a leak begins with locating the exact problem area. Water doesn’t always drip directly below the damaged spot; it can travel along beams, making the source harder to find.
- Inspect the Attic: Look for wet spots, water stains, or damp insulation on the roof’s underside. These are common signs of a leak.
- Follow the Water Path: Water often travels downward from the highest leak point before dripping. Use a flashlight to trace the trail.
- Examine Key Areas: Pay extra attention to roof vents, skylights, chimneys, and other penetrations, as these are frequent culprits.
- Check Roof Valleys: Roof valleys can trap snow and ice, leading to leaks when the snow melts. Ensure these areas are clear and properly sealed.
- Check for Damaged Shingles: Missing or cracked shingles can often lead to leaks.
Pro Tip: Mark the leaking area with chalk or tape to ensure you don’t lose track of it when starting repairs.
Assessing the Situation
Assessing the situation is the first crucial step when dealing with a leaking roof. Before diving into any repairs, it’s essential to pinpoint the leak's source and evaluate the damage's extent. This will help you determine the best action and ensure the repairs are done efficiently and effectively.
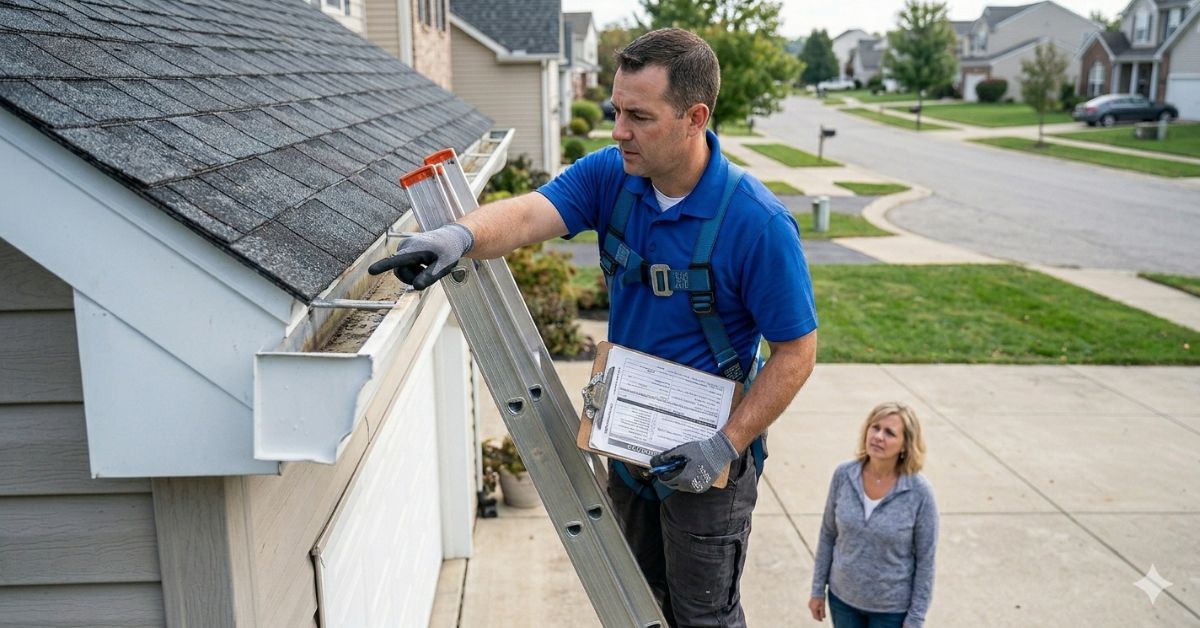
Start by inspecting the roof from both the inside and outside. Look for signs of damage, such as missing or damaged shingles, cracked flashing, or deteriorated roof vents. Check for water stains on the ceiling or walls inside your home, and inspect the attic for wet insulation or dark spots on the decking.
To locate the leak, trace the water stain to its highest point. This is usually directly above the source of the leak. Use a flashlight to inspect the underside of the roof decking or the insulation in the attic. Look for signs of water damage, such as wet insulation or dark spots on the decking. Identifying the actual leak will help you target your repairs more effectively.
Preparing for Repairs
Preparing the area properly before starting repairs on your leaking roof is essential. Begin by clearing the area around the leak of debris or obstructions. Remove any furniture or belongings that may be in the way, and cover the floor and walls with drop cloths or plastic sheets to protect them from water damage.
Next, gather all the necessary materials and tools. You’ll need items such as roofing tar, roofing cement, and roofing nails. Make sure you have a ladder or scaffolding to access the roof safely. If you’re not comfortable with heights or unsure about the repair process, consider hiring a professional roofer to handle the job. Proper preparation ensures that your repair efforts are efficient and effective.
Temporary Fixes for a Leaky Roof
While waiting for a professional inspection, you can use these temporary solutions to stop water from causing further damage to your house.
Roofing Cement Application
- What You’ll Need: Roofing cement, a putty knife, and a bucket.
- How to Apply:
- Clean the underside of the damaged area by removing dirt, wet insulation, and debris.
- Spread roofing cement liberally over the leaking area. Ensure it fills every crack or hole.
- Smooth the cement with the putty knife to ensure a proper seal.
Creating a Temporary Patch
- What You’ll Need: Roofing tar, plywood, or metal sheeting.
- Steps:
- Apply roofing tar over the leaking spot using a putty knife.
- Place the plywood or metal over the tar, pressing it firmly.
- Cover the edges with more tar to hold it in place securely.
Using a Plastic Tarp
If the leak is large, use a tarp to redirect water away:
- Stretch a heavy-duty tarp under the leaking spot in the attic.
- Secure it to direct water into a bucket, protecting your walls and ceiling.
Roof valleys are particularly prone to large leaks, making it essential to use a tarp to redirect water away from these areas.
Preventing Further Damage
Temporary fixes help prevent water from spreading or causing mold, but you’ll need to take extra steps for full protection:
- Remove Wet Insulation: Replace damp materials to avoid mold growth.
- Set Up Water Catchment: Place containers under the leaking area to catch dripping water.
- Dry the Area: Use fans or dehumidifiers to dry wet areas.
- Inspect for Other Issues: Look for secondary leaks or signs of structural damage near the damaged area.
- Inspect Roof Valleys: Ensure roof valleys are clear of debris and properly sealed to prevent leaks.
Common Causes of Roof Leaks
Roof leaks can stem from various issues, including improper installation, material failure, and storm damage. Understanding the common causes can help you identify and address problems more effectively. Some frequent culprits include:
- Missing or Damaged Shingles: Shingles that are cracked, curled, or missing can allow water to penetrate the roof.
- Cracked Flashing: Flashing around chimneys, vents, and skylights can deteriorate or crack, leading to leaks.
- Deteriorated Roof Vents: Roof vents can wear out over time, creating gaps for water to enter.
- Debris in Gutters: Blocked gutters can cause water to pool and seep into the roof.
- Chimney Leaks: Cracks or gaps around the chimney can allow water to enter.
- Improperly Installed or Failing Skylights: Skylights that are not sealed correctly can be a source of leaks.
- Ice Damming: Ice buildup along the roof edge can prevent proper drainage, causing water to back up and leak into the roof.
Identifying the underlying cause of the leak is crucial for effective repairs and preventing future issues.
Permanent Repairs: Why Professional Help Is Essential
Temporary fixes aren’t a long-term solution. A professional roofer can ensure your roof is properly sealed and recommend the best action.
- Common Repairs Include:
- Replacing damaged shingles.
- Resealing around chimneys and roof vents.
- Addressing structural issues caused by prolonged leaks.
- Why Professionals Are Necessary:
- They can thoroughly inspect your roof to locate other issues that aren’t visible from the inside.
- A professional job minimizes risks and ensures your roof is ready to prevent water damage in the future.
Signs You Need Professional Repairs
Even if your temporary fixes seem to hold up, look for these signs that indicate the need for professional help:
- Persistent water stains or wet spots on ceilings or walls.
- Mold growth around the attic or other parts of the house.
- Visible holes, tears, or sagging in the roof.
- Repeated leaks, even after applying temporary fixes.
How to Prevent Future Roof Leaks
Preventative measures are the best way to avoid costly repairs:
- Routine Inspections: Have your roof inspected annually, especially after severe weather.
- Check Roof Valleys: Regularly inspect roof valleys for debris and ensure they are properly sealed to prevent leaks.
- Replace Damaged Shingles: Immediately replace cracked or missing shingles to prevent leaks.
- Seal Skylights and Vents: Ensure all penetrations are sealed properly.
- Clean Gutters Regularly: Blocked gutters can cause water to pool and damage your roof.
Conclusion
Fixing a leaking roof from the inside is often a temporary solution to protect your home from immediate water damage. While these methods can save you time, professional repairs are essential for a more permanent repair that prevents future leaks.
Need help with a leaky roof? Contact Gutters 4 Less today for a free estimate and expert advice. We’ll make sure your roof is safe and sound!
You might also like
Gutters 4 Less Blog